How to Use a Dial Caliper for Accurate Measurements?
In precision measurement, the Dial Caliper stands out as a vital tool. Its ability to provide highly accurate measurements makes it indispensable in various industries, including manufacturing and engineering. According to a report by the National Institute of Standards and Technology (NIST), inaccuracies in measurements can lead to significant financial losses, highlighting the importance of reliable tools. The Dial Caliper offers a range of up to six inches or more, ensuring versatility in applications.
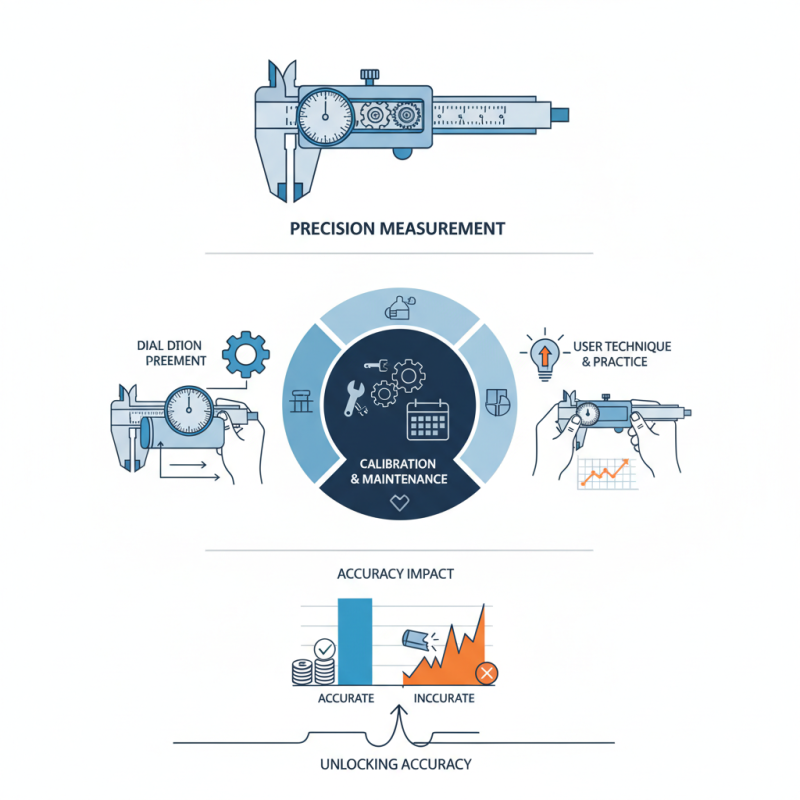
Using a Dial Caliper effectively requires understanding its components and proper techniques. Professionals often note that the calibration of this tool is critical. A miscalibrated caliper can yield misleading data, which may compromise project quality. Many users overlook this aspect, leading to measurement errors that could have been easily avoided. Regular checks and maintenance are essential for maintaining its reliability.
Despite its popularity, some still face challenges with the Dial Caliper. For instance, reading the measurements can confuse beginners. Moreover, the precision of this tool is only as good as the user’s technique. Mastery comes with practice, and even seasoned users can have off days. Thus, ongoing education about its use is necessary. With the right knowledge, a Dial Caliper can unlock new levels of accuracy in measurement.
Understanding the Components of a Dial Caliper
A dial caliper is an essential tool for precise measurements. Understanding its components is crucial for achieving accurate results. The main parts include the main scale, the sliding scale, and the dial. Each component plays a specific role in measurement. The main scale provides the basic measurement in millimeters or inches. The sliding scale allows for finer adjustments. This helps you get precise readings.
The dial displays the measurement clearly. The needle on the dial indicates the reading accurately. However, beginners may misread the dial. It's important to learn how to read the scale correctly. Calibration is another vital aspect. If the dial caliper is not calibrated, readings can be off. Regular checks ensure reliability.
When using a dial caliper, make sure to handle it with care. Small mistakes can lead to significant measurement errors. Always zero your caliper before taking a measurement. This simple step can prevent discrepancies. Take your time, as rushing can result in inaccurate readings.
Measuring Accuracy with a Dial Caliper
This bar chart illustrates the values measured using a dial caliper. The measurements range from 12.8 mm to 20.3 mm, demonstrating the tool's effectiveness in providing precise dimensions for various applications.
Calibration: Ensuring Your Dial Caliper is Accurate
Calibration is essential for ensuring your dial caliper provides accurate measurements. Inaccurate readings can lead to costly mistakes in manufacturing and engineering. According to a report by the National Institute of Standards and Technology (NIST), inaccuracies of just 0.1 mm can have significant implications in precision work. Regularly calibrating your caliper helps mitigate such risks.
To calibrate a dial caliper, start by using a set of certified gauge blocks. These blocks should have a known thickness to check the caliper's accuracy. Measure the blocks at various points. If discrepancies appear, adjustments may be necessary. Calibration requires expertise, and sometimes results do not align as expected. This could indicate wear or improper handling.
Calibration should be part of a routine maintenance schedule. Research shows that nearly 30% of measurement errors occur due to inadequate calibration. For the best results, choose a specific frequency for checks based on usage intensity. Keep detailed records of calibration results to identify patterns of inaccuracy. This helps in improving the reliability of measurements over time.
How to Use a Dial Caliper for Accurate Measurements? - Calibration: Ensuring Your Dial Caliper is Accurate
| Measurement Type | Minimum Measurement (mm) | Maximum Measurement (mm) | Accuracy (mm) | Calibration Frequency (Months) |
| External Measurement | 0 | 150 | 0.02 | 12 |
| Internal Measurement | 5 | 100 | 0.03 | 12 |
| Depth Measurement | 0 | 200 | 0.04 | 12 |
| Step Measurement | 0 | 50 | 0.05 | 12 |
Step-by-Step Guide to Taking Measurements
Using a dial caliper for precise measurements can significantly enhance your accuracy in various projects. To start, ensure you hold the caliper correctly. Grip the body firmly and extend the jaws gently. Avoid excessive force to not damage the scale or the object being measured. The American Society for Quality (ASQ) notes that improper handling can lead to measurement errors of up to 0.5 mm, which might seem small but can affect the final outcome of a project.
Next, calibrate the dial before taking any measurement. Zeroing the caliper is crucial. Close the jaws completely and adjust the dial to zero if necessary. This simple step ensures your readings have minimal error. A report from the National Institute of Standards and Technology (NIST) indicates that improper calibration can introduce errors of 0.1 mm or more. Take your time when measuring. Slow and steady movements yield the best results. By ensuring you position the jaws correctly around the object, you enhance the reliability of your measurements.
Finally, read the dial carefully. The main scale and the dial scale provide two sets of information. Misreading them is common among beginners. Pay attention to both scales. If you’re in doubt, repeat the measurement after changing the position slightly. It’s a good practice to cross-check your results by taking multiple readings. This approach will build your confidence and improve your precision over time. Each small adjustment can lead to significant improvements in accuracy.
Common Mistakes to Avoid When Using a Dial Caliper
When using a dial caliper, precision is key, but common mistakes can compromise your measurements. One frequent error happens when the caliper is not zeroed correctly. Always check that the dial reads zero when the jaws are closed. Failing to do this can lead to inaccurate results. Another mistake is applying too much pressure when taking measurements. This can distort the object being measured, resulting in erroneous data.
Positioning the caliper incorrectly is another pitfall. Ensure that you hold it straight and level against the measurement surface. Tilting or wobbling can alter the reading. Additionally, users often overlook the importance of clean measuring surfaces. Dirt, oils, or debris can interfere with the accuracy of your measurements. Cleaning both the caliper and the workpiece can greatly enhance reliability.
Finally, many users forget to read the dial properly. It’s essential to understand the scale on the dial. Misreading can happen easily, especially in a hurry. Take your time to align your eye level with the dial for an accurate reading. Reflecting on these mistakes can lead to better practices over time. Accurate measurements fundamentally rely on attention to detail and proper technique.
Maintaining Your Dial Caliper for Longevity and Precision
Maintaining your dial caliper is essential for ensuring its longevity and precision. Keep it clean and free of dust or debris. Use a soft cloth to wipe the measuring surfaces gently. Accumulated dirt can lead to inaccurate measurements. Regularly inspect the caliper for signs of wear and tear. If you notice any scratches or dents, it may affect its precision.
Store your dial caliper in a protective case when not in use. Humidity and exposure can lead to rust, which degrades performance over time. Consider using a silicone cloth for added protection. Calibration is vital. Even slight misalignments can create significant measurement errors. If you question accuracy, take the time to recalibrate your tool.
Always handle your caliper with care. Dropping it can affect its mechanical components. This can lead to measurement discrepancies. Always return the jaw to zero when storing it. This practice can help maintain the internal spring's tension. Remember, a well-kept caliper not only lasts longer but also provides more reliable measurements.